Your basket is currently empty!
Instructions X-mount
X–mount
Congratulations on your new X-mount for motorcycles.
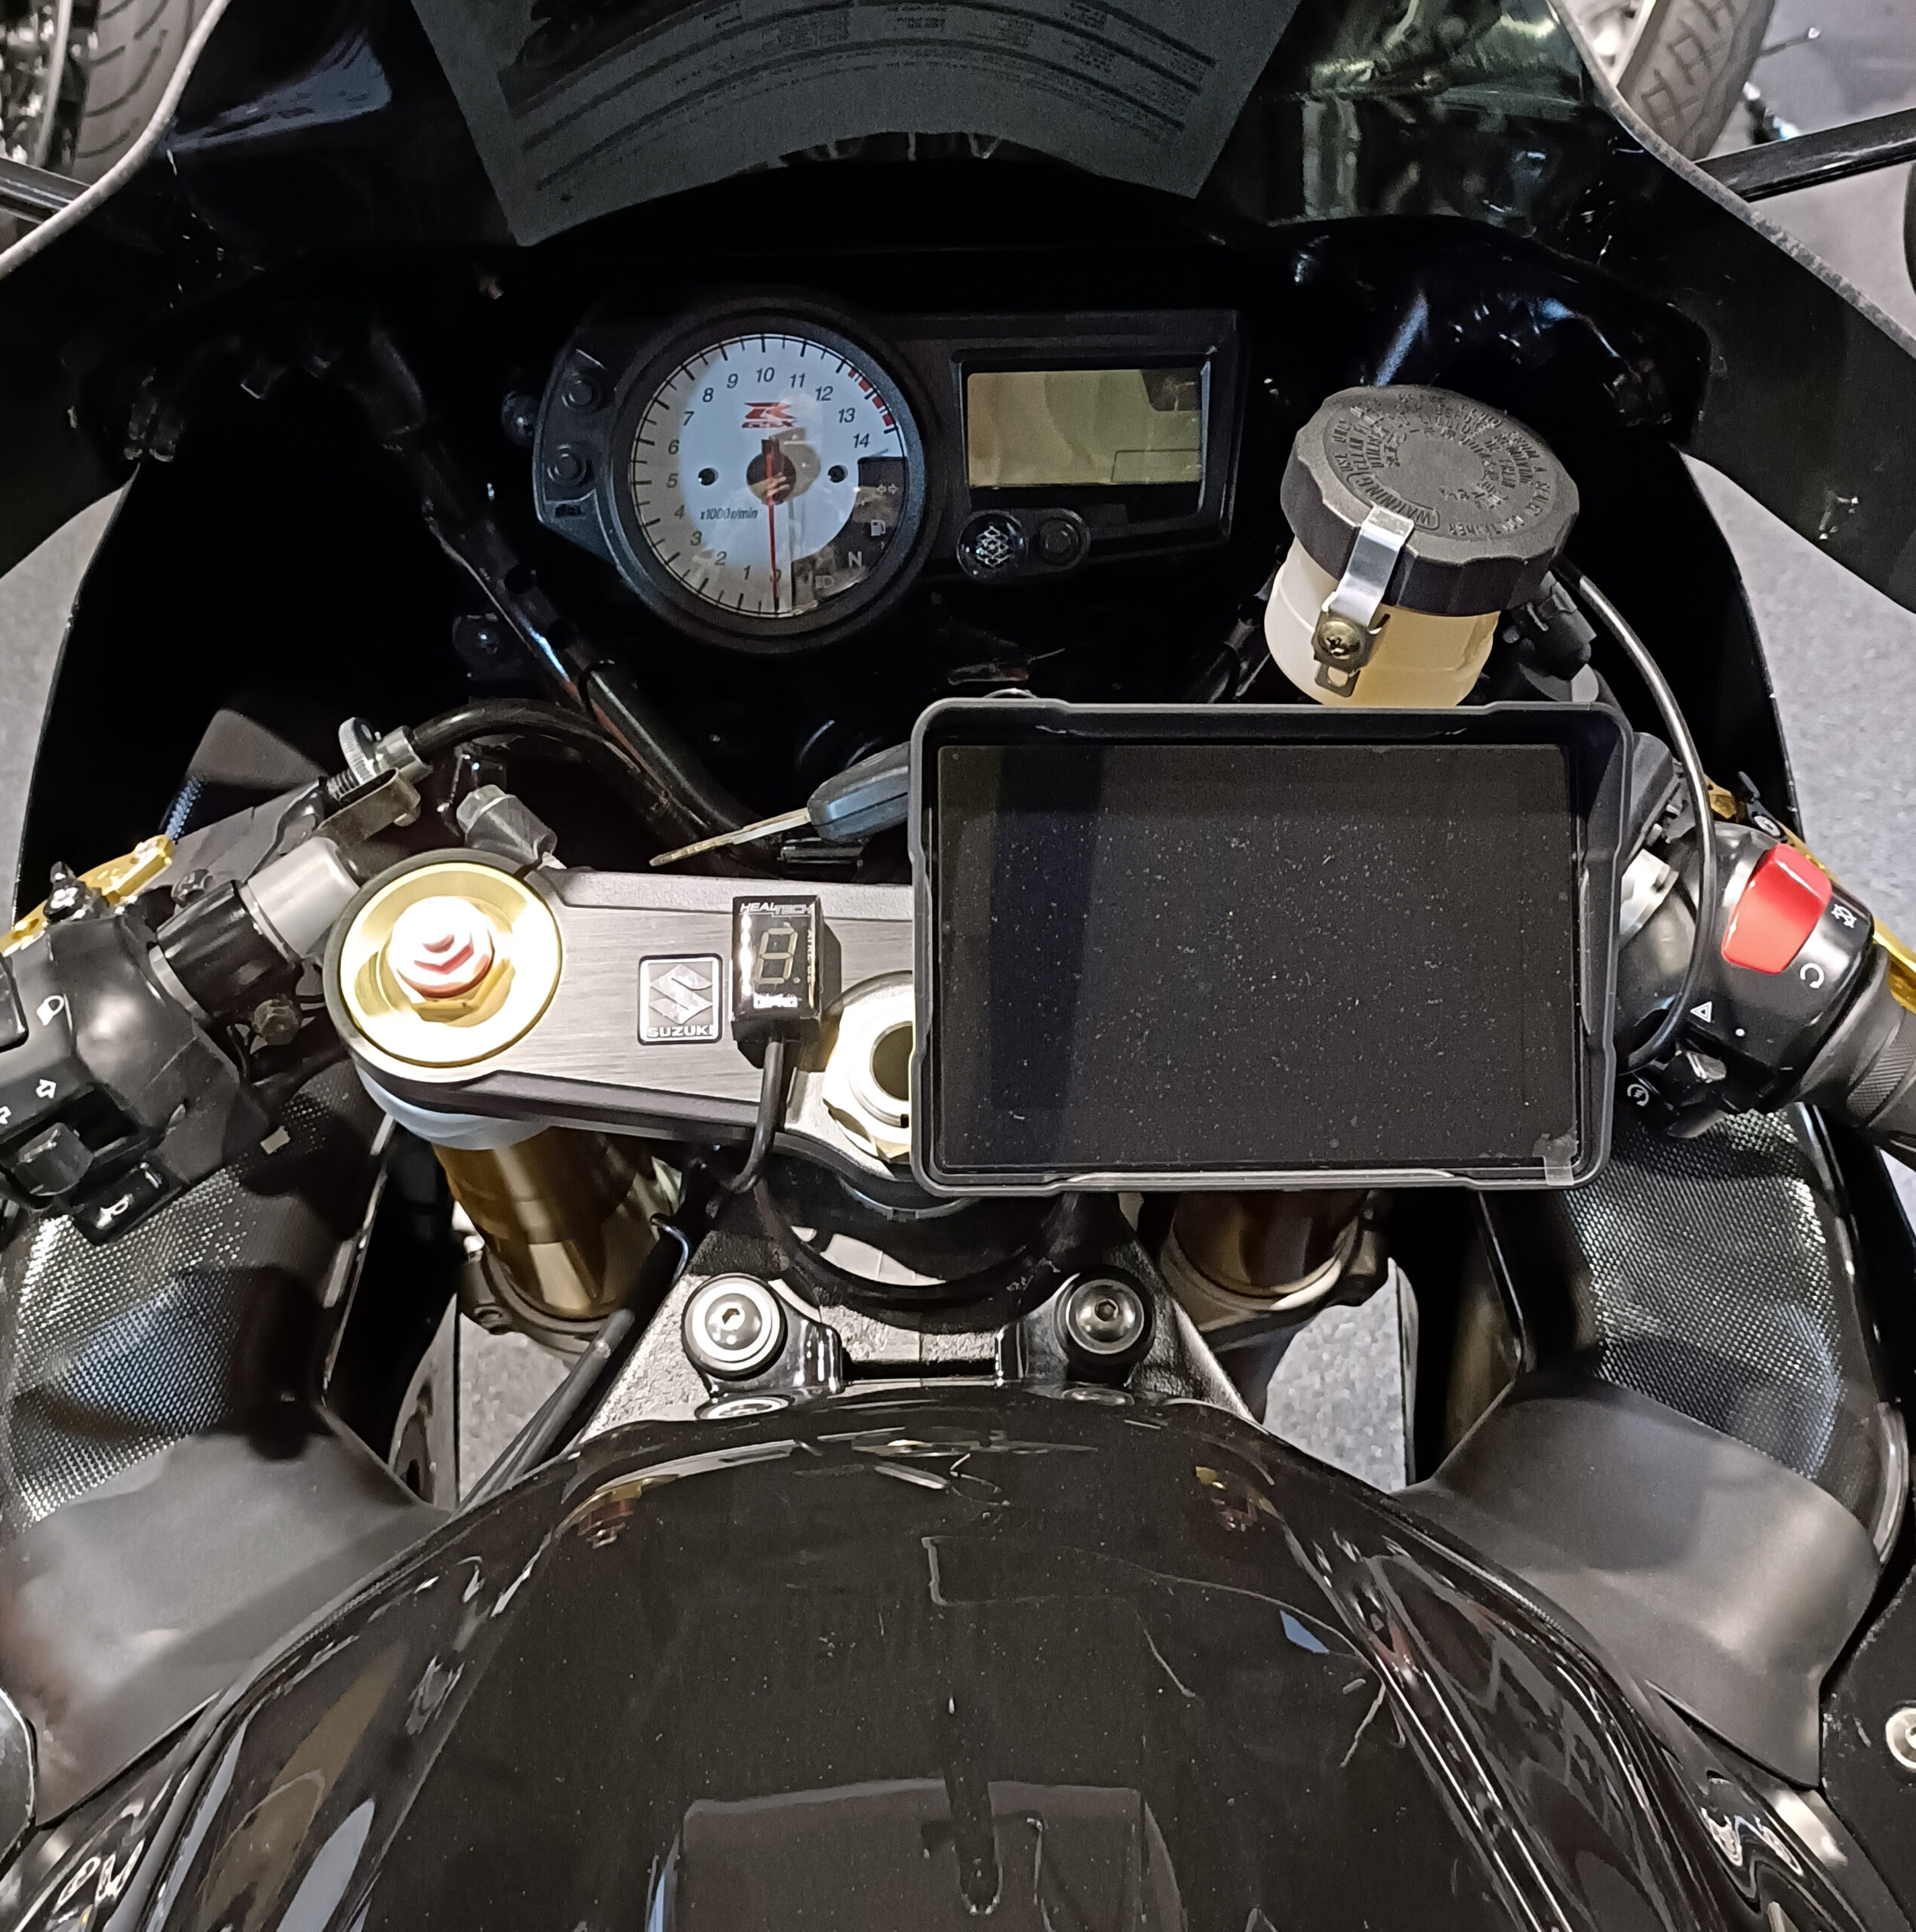
X-mount is available in 3 variants and replaces the RAM ball heads and arm mounting. X-mount can be used for X-ride 5 and e.g. Carpuride W502
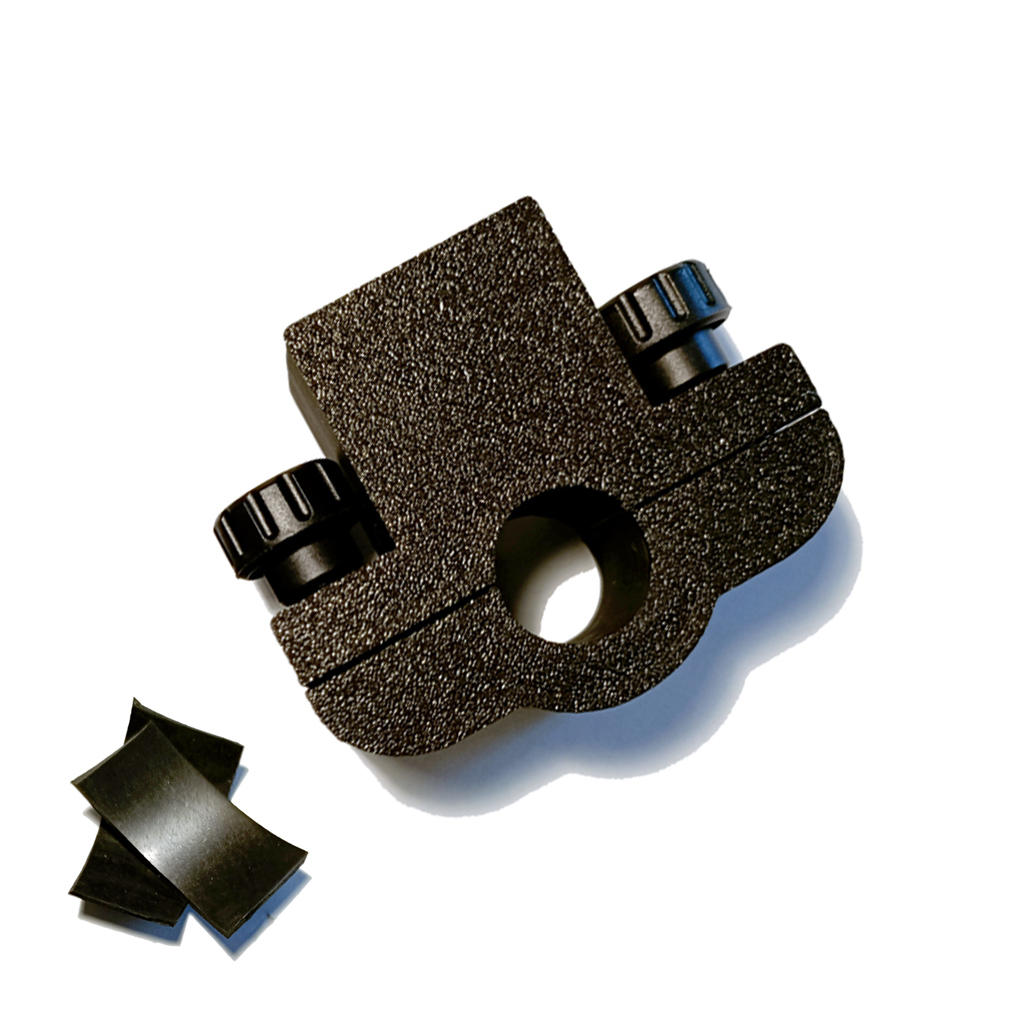
X-mount 10-16 mm
Assembly
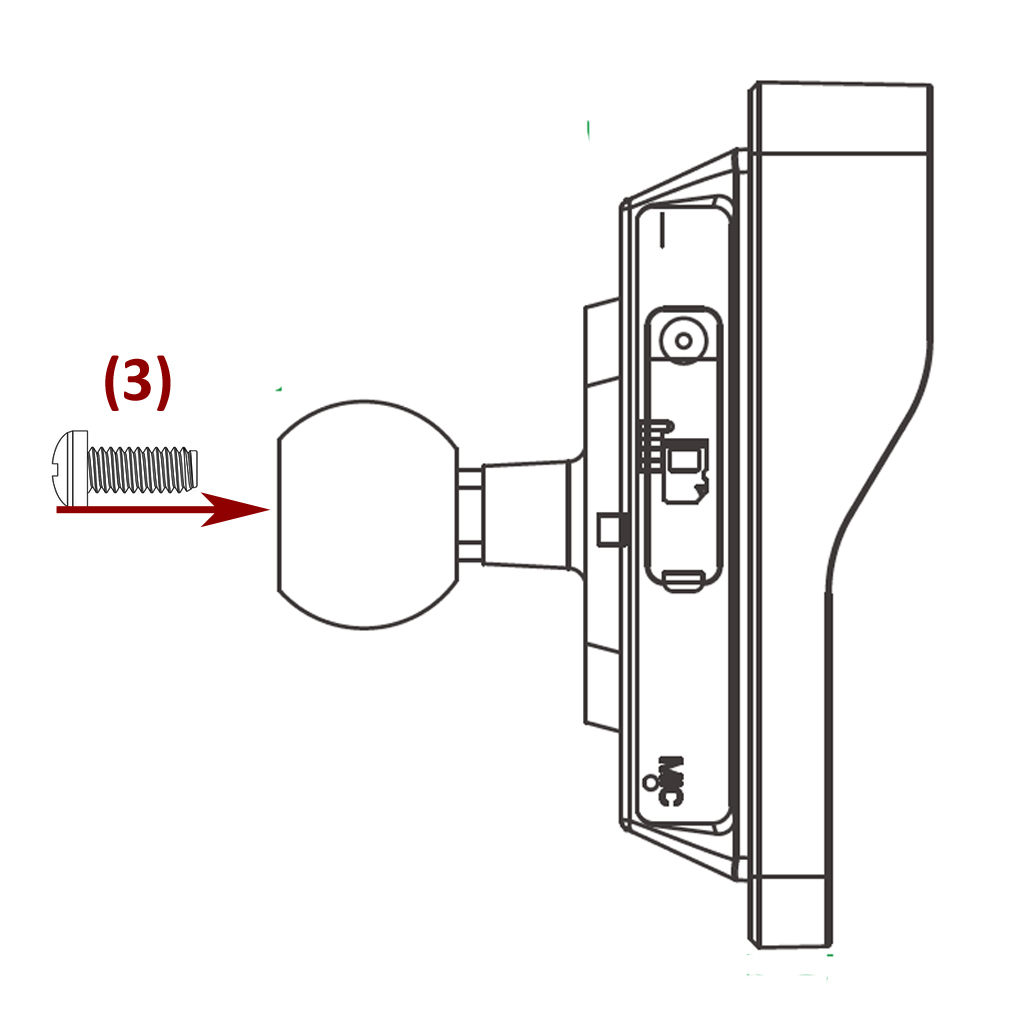
Remove the ball head by unscrewing the (3) small screw that sits inside the ball head on the back of the screen.
The screen and the upper part of the bracket are assembled and the included disc (2) must fit into the hole on the inside of the bracket, you can give screw (3) a drop of loctite before assembly. You can adjust the diameter with the included rubber sheets.
Put the upper and lower part of the X-mount together and fit the 2 thumbscrews.
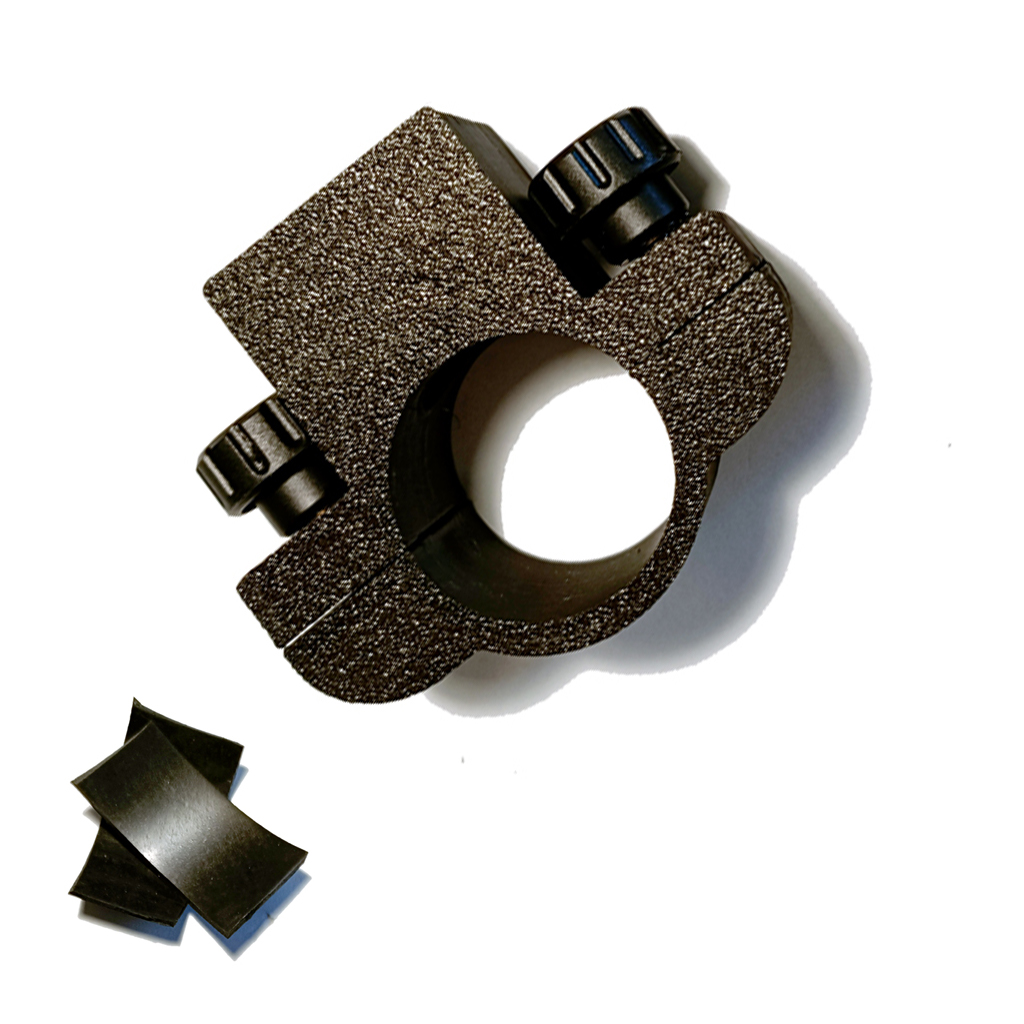
X-mount 20-28 mm
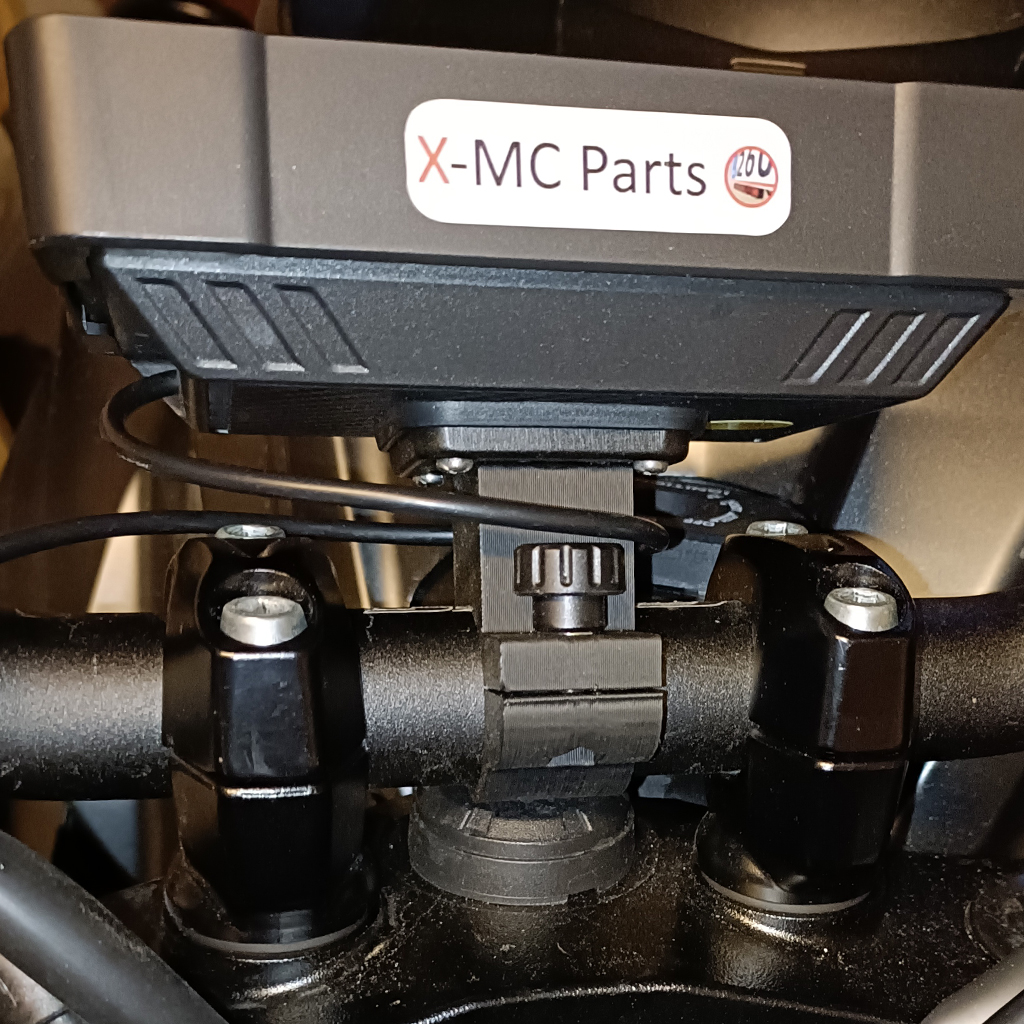
Assembly
Remove the ball head by unscrewing the (3) small screw that sits inside the ball head on the back of the screen.
The screen and the upper part of the bracket are assembled and the included disc (2) must fit into the hole on the inside of the bracket, you can give screw (3) a drop of loctite before assembly. You can adjust the diameter with the included rubber sheets.
You may need to loosen your handlebars to get the bottom of the bracket to pivot under the handlebars. In that case check you motorcycle manual for the tighten tension.
Put the upper and lower part of the X-mount together and fit the 2 thumbscrews.
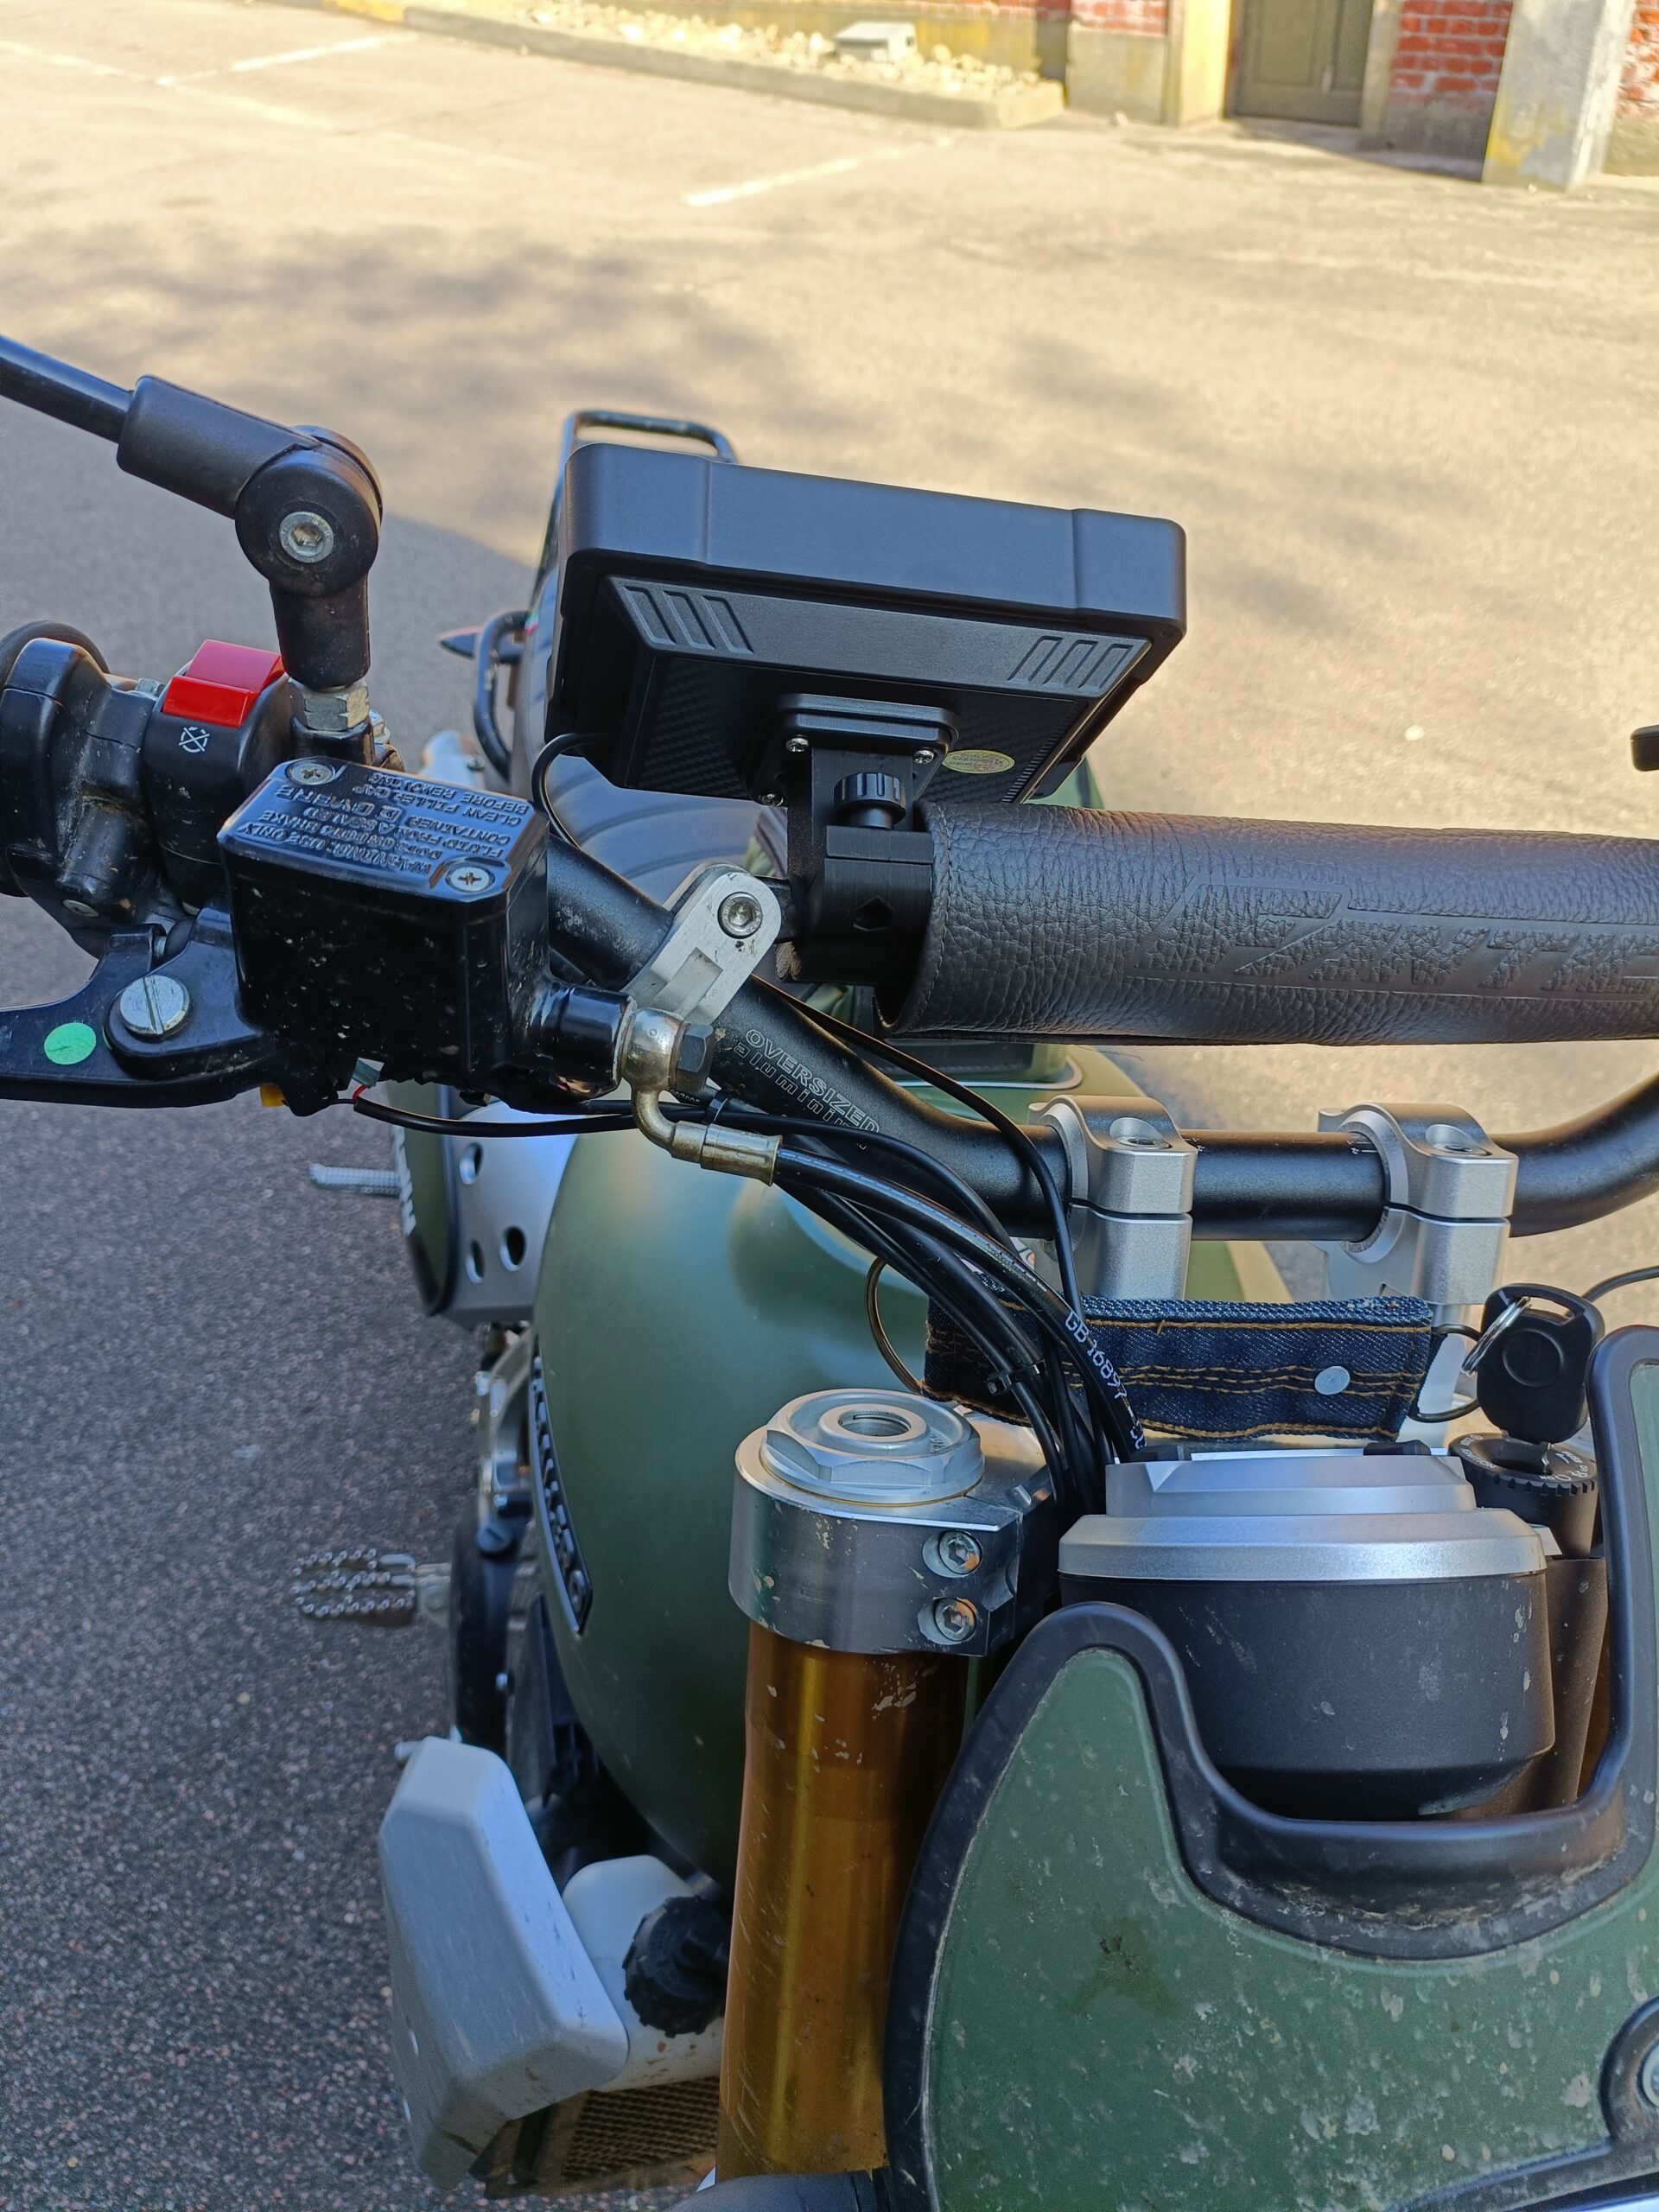
X-mount Clip on’s
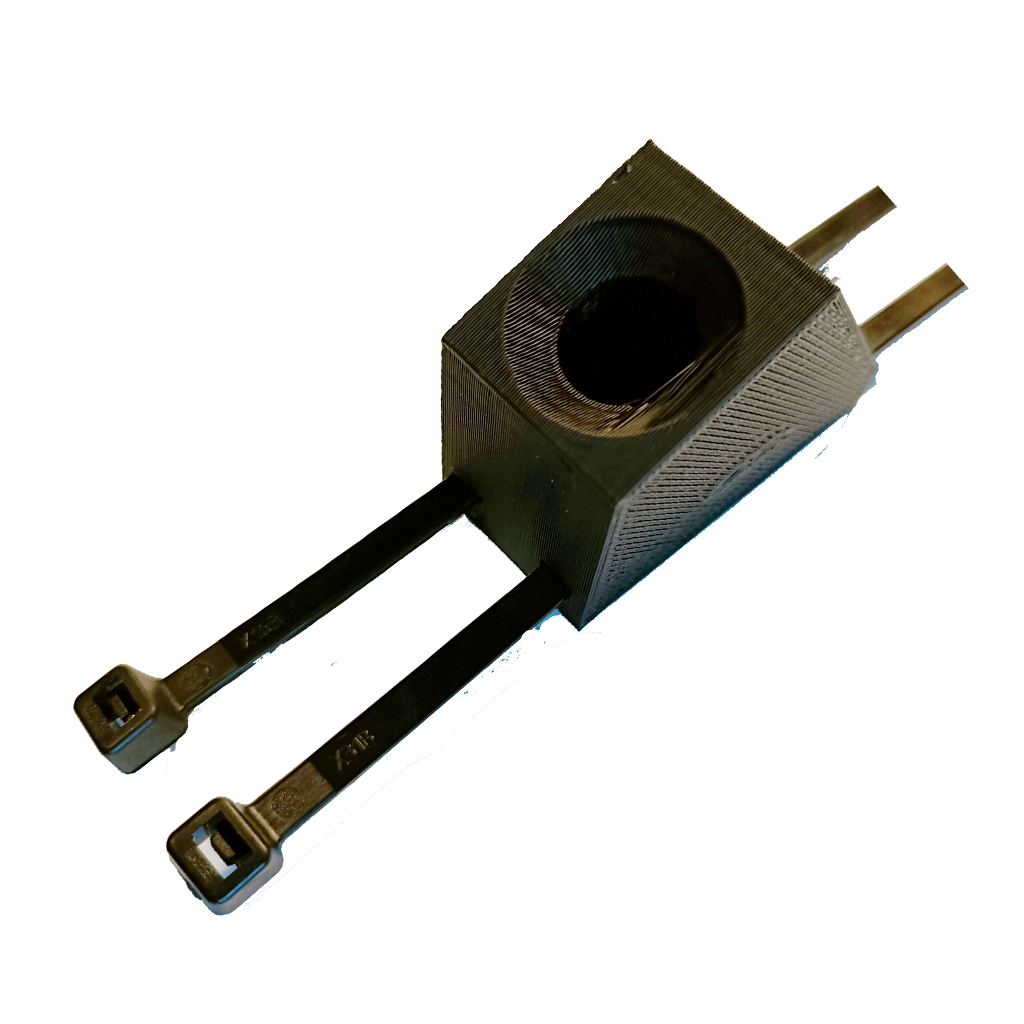
Assembly
Remove the ball head by unscrewing the (3) small screw that sits inside the ball head on the back of the screen.
The screen and the upper part of the bracket are assembled and the included disc (2) must fit into the hole on the inside of the bracket, you can give screw (3) a drop of loctite before assembly. The rubber sheet goes beneath the X-mount. Tighten the strips round the bridge firmly.